In this guide, you will learn how to grill corn on the cob without husk using this grilled corn on the cob recipe.
This easy recipe is as simple as it gets, and it is without husk or foil. Just place the corn on the grill and flip it until it gets heated on all sides.
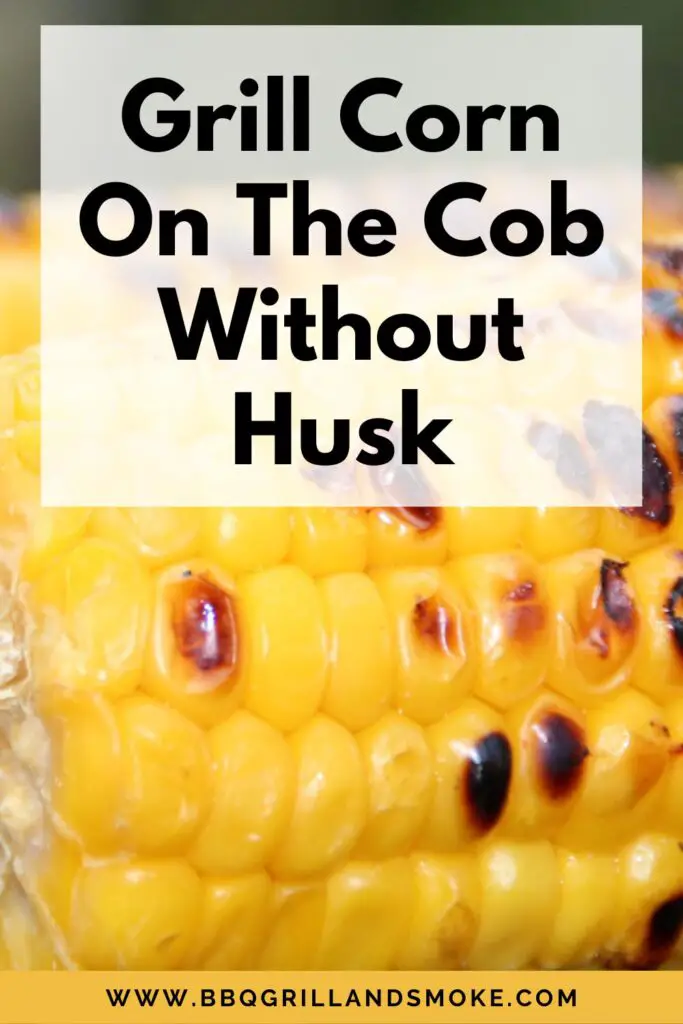
This will only take around 20 minutes, and then it is ready to be consumed.
This is a simple gluten-free side dish for summer eating, and it can be served with burgers, steaks, hot dogs, and so on.
Let’s Get Started
I’m sure you’d also agree that grilling corn in the husk is a certain way to secure the moisture inside.
The corn will be steamed, and it will remain nice and juicy with the help of any water still locked in the husk.
So, getting rid of the husk will leave the corn unprotected from the heat and increase the likelihood of it burning or simply drying out.
I suggest that you begin with the completely freshest corn you can purchase, as this will help reduce the risk.
What you need to do is find a farmer’s market or a roadside stand. A supermarket is not an option for this.
Now, let’s get right into how to grill corn on the cob without husk using the easy recipe for grilled corn on the cob (no husk).
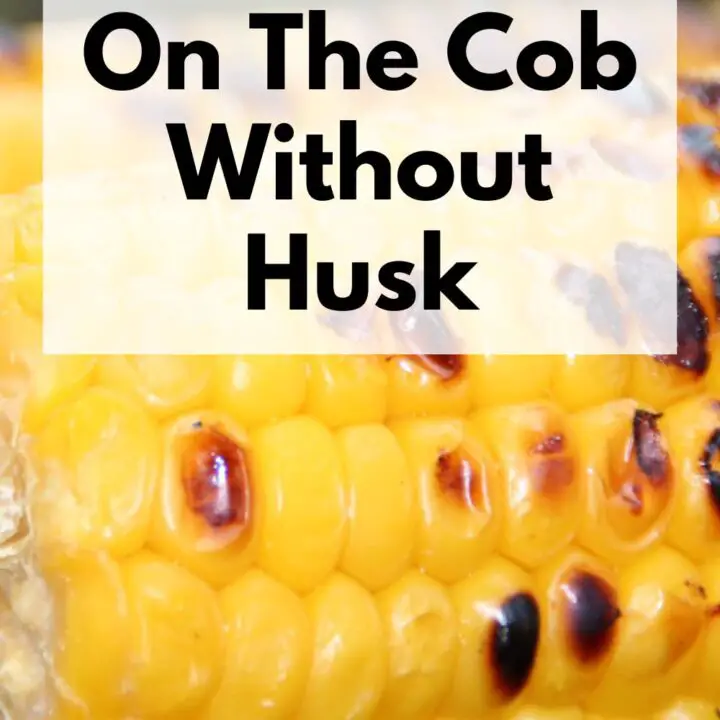
Grilled Corn on the Cob (No Husk)
This simple recipe for grilled corn on the cob (with no husk or foil) is as easy as it gets.
Just place the corn on the grill and turn it over until it gets heated on all sides.
This will take more or less 20 minutes, and then it will be ready to be served.
This gluten-free side dish is perfect for summer eating and can be paired with steaks, hot dogs, burgers, and so on.
- Course: Side Dish
- Cuisine: American
- Prep Time: 4 minutes
- Cook Time: 16 minutes
- Total Time: 20 minutes
- Servings: 4
Equipment
- A grill
- A pair of tongs
- A towel
Ingredients
4 corn on the cob
Optional Toppings
- Smoked paprika
- Melted butter (for dairy-free, use coconut oil)
- Chopped cilantro
Laid-Out Instructions
- First, preheat your grill to about 400 degrees Fahrenheit on medium heat.
- After that, get rid of the husks, and if they didn’t come pre-shucked, remove the silk (the strings) from each corn cob.
- You can now snap the stem off the end of the corn and discard it. With that being done, rinse the corn with water and dry it off using a towel.
- That being done, place the corn on the grill grate with a pair of tongs immediately after the grill is warmed up.
- Make sure you close the lid, then cook for 4 minutes. Now, open the lid and flip each corn cob one-quarter turn after the 4 minutes are up.
- Afterward, close the lid and cook for another 4 minutes. Repeat this step another two times until all sides of the corn are facing down on the grill grates and the corn kernels are beginning to blacken.
- When that is done, remove the corn from the grill and serve immediately, either plain or with toppings if you want.
Serving Suggestions
Most of us eat our grilled corn plain, but there are several ways to whip it up with more flavor.
You can use lime and Aleppo pepper to add tang and heat to the perfectly seared corn.
You can also add a bit of feta, whether crumbled, a dollop of whipped feta, or just some fresh herbs on top.
This delicious grilled corn can be enjoyed as a snack, or you can turn it into a mouth-watering summer salad with a grilled romaine salad recipe with corn and tomatoes.
Or, you can just enjoy it as a side dish and pair it with some lamb kabobs, grilled chicken wings, or grilled salmon.
How To Store Leftovers Grilled Corn on the Cob
As previously mentioned, grilled corn is best when consumed immediately.
However, you can store them in the fridge for up to 3 days if you happen to have any leftovers.
I strongly advise against reheating grilled corn. Rather than that, you can just remove it from the cob and enjoy it in salsa or salads.
The seared corn will add extra flavor to the black bean and corn salad, but that does not mean you can’t add it to any other salad, you are free to.
Frequently Asked Questions about Grilled Corn on the Cob
How Can You Tell If Corn On The Cob Is Fresh?
All you need to do is look for nice, vibrant green husks tightly covering the kernels.
Go for the stalk that is yellow or brown, not black. The corn should also smell sweet.
Keep in mind that any brown or black bits are a bad sign and signify rot or insects within.
Can I Grill Corn On A Stove Top Griddle?
The short and straightforward answer to this question is yes. You can grill corn on a stovetop griddle.
That being said, bear in mind that the corn will not get that smoky taste, and it might even take longer if your stove-top griddle is easily covered.
Why Do You Need To Soak Corn For Grilling?
Note that soaking helps add moisture to the corn and lets it roast and steam at the same time without burning.
How Long Should I Grill Corn On The Cob?
As you know, at any one time, the surface area of the corn that is in contact with the grill is quite small.
You will actually need to tend to your cobs and turn them over frequently at small intervals, particularly if you want to ensure even cooking.
I would recommend that you flip the corn every 1-2 minutes, but this is based on how hot your grill is.
Make sure you pay attention to the kernels as they start deepening in color; however, don’t allow them to get black.
In terms of the basic equation of barbecuing, black means burned, and burned means garbage.
So, the total cooking time for this grilled corn on the cob without husk will be between 10 and 16 minutes.
The Verdict
To flip the corn over on the grill, use a pair of tongs or an oven mitt.
I strongly suggest that you avoid using your hands to do it, as you are, in turn, risking burning yourself.
You can actually use any type of corn for this recipe, as it won’t make any difference.
So, you can go for either white, yellow, or bi-color, as they all work well for this simple recipe.
And, as previously mentioned, you can enjoy it on its own as a side dish or in another dish.
This actually concludes this guide on how to grill corn on the cob without husk as you now have the perfect recipe to do so.
How To Grill Corn On The Cob Without Husk
In this guide, you will learn how to grill corn on the cob without husk using this grilled corn on the cob recipe.
Ingredients
- 4 corn on the cob
Optional Toppings
- Smoked paprika
- Melted butter (for dairy-free, use coconut oil)
- Chopped cilantro
Instructions
- First, preheat your grill to about 400 degrees Fahrenheit on medium heat.
- After that, get rid of the husks, and if they didn’t come pre-shucked, remove the silk (the strings) from each corn cob.
- You can now snap the stem off the end of the corn and discard it. With that being done, rinse the corn with water and dry it off using a towel.
- That being done, place the corn on the grill grate with a pair of tongs immediately after the grill is warmed up.
- Make sure you close the lid, then cook for 4 minutes. Now, open the lid and flip each corn cob one-quarter turn after the 4 minutes are up.
- Afterward, close the lid and cook for another 4 minutes. Repeat this step another two times until all sides of the corn are facing down on the grill grates and the corn kernels are beginning to blacken.
- When that is done, remove the corn from the grill and serve immediately, either plain or with toppings if you want.
Nutrition Information:
Yield: 4 Serving Size: 1Amount Per Serving: Calories: 126Total Fat: 5gSaturated Fat: 2gTrans Fat: 0gUnsaturated Fat: 2gCholesterol: 8mgSodium: 284mgCarbohydrates: 22gFiber: 3gSugar: 5gProtein: 4g