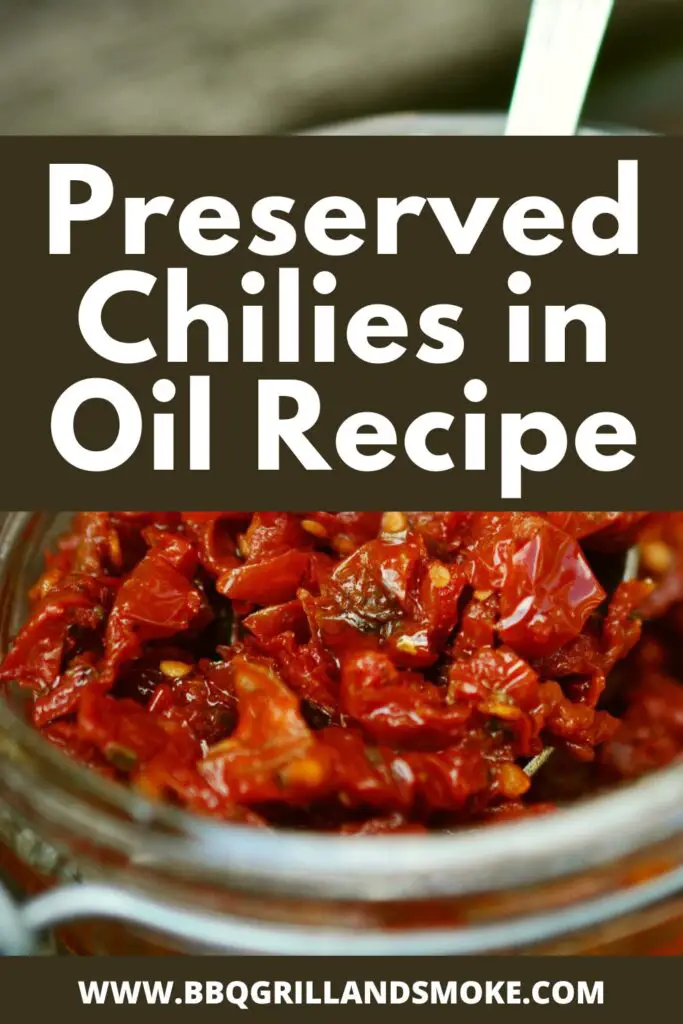
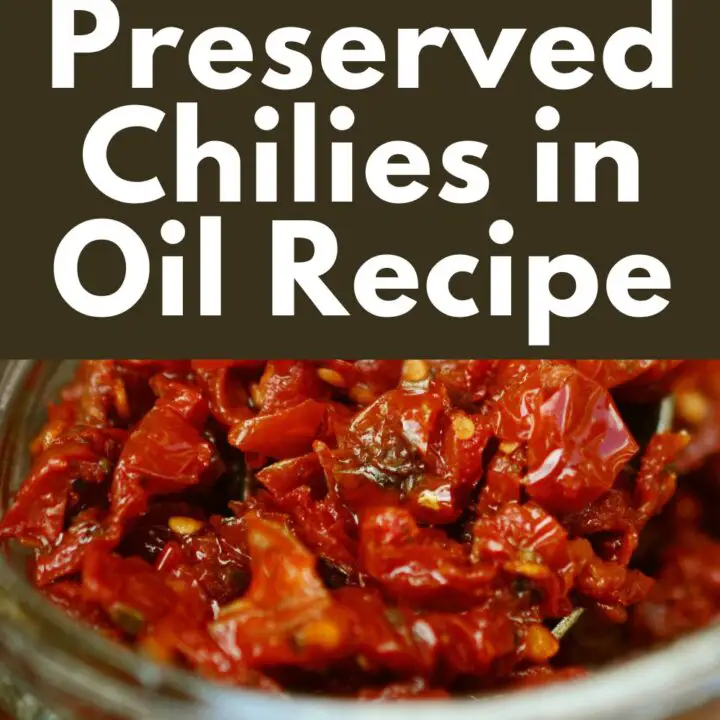
With this Preserved Chilies in Oil recipe, you will learn how to preserve your chili peppers in olive oil. This way, you will be able to enjoy them longer.
I consider them to be like summer in a jar. If you intend to keep your chili peppers longer, then preserving them is important.
However, keep in mind that it is impossible to keep your chili peppers fresh forever. This is just about the nature of chili peppers and any natural food.
If you don’t preserve them in some way, they will rot and spoil at last. And one way to do this is to preserve your chilies in olive oil.
Unless you freeze the peppers, they won’t keep as long as other methods. However, at least they will last for a few weeks.
So, this will provide you with enough time to enjoy them. And they definitely will not last that long if you are just a crazy chili pepper enthusiast like I am.
You are likely to just devour them right away. Well, that being said, let’s dive into the best recipe for Preserved Chilies in Oil.
Preserved Chilies in Oil
These Preserved Chilies in Oil are extremely simple to make and a great option to be paired with pasta, salads, pizza, and many more dishes.
- Course: Condiments
- Cuisine: International
- Prep Time: 20 minutes
- Soaking Time: 12 hours
- Total Time: 20 minutes
- Servings: 8 servings
Equipment
- 1 ladle
- 1 sieve
- 1 medium bowl
- 1 250 ml/1 cup jar
Ingredients
- 200 g of fresh red chilies (or a mix of your preference)
- 250 ml of white wine vinegar (or of your choice)
- 1 tablespoon of salt
- 250 ml of EV olive oil
Laid-Out Instructions
Day 1
- The first step is to make sure that you wash and dry the chilies thoroughly, then get a food chopper and proceed to place them in it.
- After that, chop them harshly. However, you can also use your hand to do this. That being done, proceed to place the chilies in a bowl.
- Then, top with salt. Also, pour the vinegar all over and stir to dissolve the salt as much as you can.
- Get a Clingfilm and use it to cover it; leave it to soak overnight.
The Next Day 2
- Now it is time to drain the chilies, then get a sterilized jar and place them in it. After that, top with olive oil.
- However, do make sure that the chilies are all covered with at least a 2.5cm/1 layer of oil. Also, leave it for a day, at least.
- Then, you can proceed to enjoy them. With that being done, you are to place and store them in the fridge.
- And, once opened, you have to consume them within a month.
How to Store Chilies for Months
You might be asking questions like, “How long do peppers last in the fridge?” or “Do you really need to preserve these peppers?”
Well, to answer the first question, fresh peppers will last for up to 1 to 2 weeks in the fridge.
And, to give a short and straightforward answer to the second question, yes, you do need to preserve these peppers.
Particularly if you have an incoming plethora of peppers from your garden or secured amazing prices while at the market.
You will definitely want to preserve your peppers somehow for longer-term storage.
How to Freeze Chilies
The first thing to do is make sure you wash them in clean water, then get rid of the seeds and the white partitions.
After that, cut them into pieces. That being done, get a baking sheet and arrange them on it. Ensure that they are well-spaced apart.
Or else, they would create a compact block during freezing. There’s no need to blanch them.
All you need to do is place them in the freezer for at least 2 hours. After that, you can place them in a freezer bag before you put them back in the freezer.
At least this is where they will stay intact for up to 6 months.
Serving Suggestions
This easy Preserved Chilies in Oil recipe will allow you to enjoy their spiciness throughout the year.
It is a condiment that is easy to prepare and also makes an excellent addition to many dishes.
You can just place a bowl of these spicy Preserved Chilies in Olive Oil on the table for a lot of meals.
As previously mentioned, you can serve them with pasta, salads, pizza, poultry, meat, or vegetables.
You can also pair them with Greek Chicken and Salsa and Mediterranean Beef stews, and so on.
As a matter of fact, you can also add them to your breakfast toast with mashed avocado or tomato.
Preserved Chilies in Oil Recipe FAQs
How Should You Pick the Chilies?
I suggest you keep in mind that it is essential that you choose firm, brightly colored, fresh chilies.
Make sure that they have shiny skin with no blemishes. I recommend you avoid any with soft spots or wrinkled skin.
Are Long Red Chilies/Cayenne Chilies Very Hot?
Although long, red cayenne peppers are normally of mild-moderate heat, the truth is that this is not always the case.
On account of this, I suggest that when handling the chilies, you put on food-safe, disposable gloves.
Make sure you do not touch your face or eyes, as the active ingredient, capsaicin, is likely to irritate the skin and cause burning.
Get rid of your used gloves after cutting the chilies, and then proceed to wash your cutting board and knife. Also, make sure that this is done carefully.
Is It Okay If I Soak the Chilies For Just A Few Hours?
The short answer to this is no.” As mentioned above, it is quite important that you soak your chilies for at least 24 hours.
From time to time, I have left the chilies in the brine for 48 hours with no apparent effect. In this recipe, the acid vinegar and the salt are the preserving agents.
Can I Add Anything Else To The Chilies?
I advise against adding any other spices, herbs, garlic, and so on, to the chilies.
Can I Make A Large Batch of Chilies?
Well, yes, you can make a large batch of chilies. I would suggest that you make the batch size as specified and make a fresh batch as required.
As this is for freshness and to also maintain good texture and vibrant color.
Final Thoughts on Preserved Chilies in Oil
Well, do not hesitate to freeze your chilies, as this will help preserve them and keep them even longer.
Also, keep in mind that you will need to defrost them by placing them in the vegetable drawer of your refrigerator.
This will be done 24 hours before you proceed to prepare them. And, if your recipe calls for cooked peppers, you can always boil them directly.
And, that being said, this concludes this guide as the Best Preserved Chilies in Oil recipe has been given.
Preserved Chilies in Oil Recipe
With this Preserved Chilies in Oil recipe, you will learn how to preserve your chili peppers in olive oil. This way, you will be able to enjoy them longer.
Ingredients
- 200 g of fresh red chilies (or a mix of your preference)
- 250 ml of white wine vinegar (or of your choice)
- 1 tablespoon of salt
- 250 ml of EV olive oil
Instructions
Day 1
- The first step is to make sure that you wash and dry the chilies thoroughly, then get a food chopper and proceed to place them in it.
- After that, chop them harshly. However, you can also use your hand to do this. That being done, proceed to place the chilies in a bowl.
- Then, top with salt. Also, pour the vinegar all over and stir to dissolve the salt as much as you can.
- Get a Clingfilm and use it to cover it; leave it to soak overnight.
The Next Day 2
- Now it is time to drain the chilies, then get a sterilized jar and place them in it. After that, top with olive oil.
- However, do make sure that the chilies are all covered with at least a 2.5cm/1 layer of oil. Also, leave it for a day, at least.
- Then, you can proceed to enjoy them. With that being done, you are to place and store them in the fridge.
- And, once opened, you have to consume them within a month.
Nutrition Information:
Yield: 8 Serving Size: 1Amount Per Serving: Calories: 268Total Fat: 29gSaturated Fat: 4gTrans Fat: 0gUnsaturated Fat: 24gCholesterol: 0mgSodium: 797mgCarbohydrates: 2gFiber: 0gSugar: 1gProtein: 0g