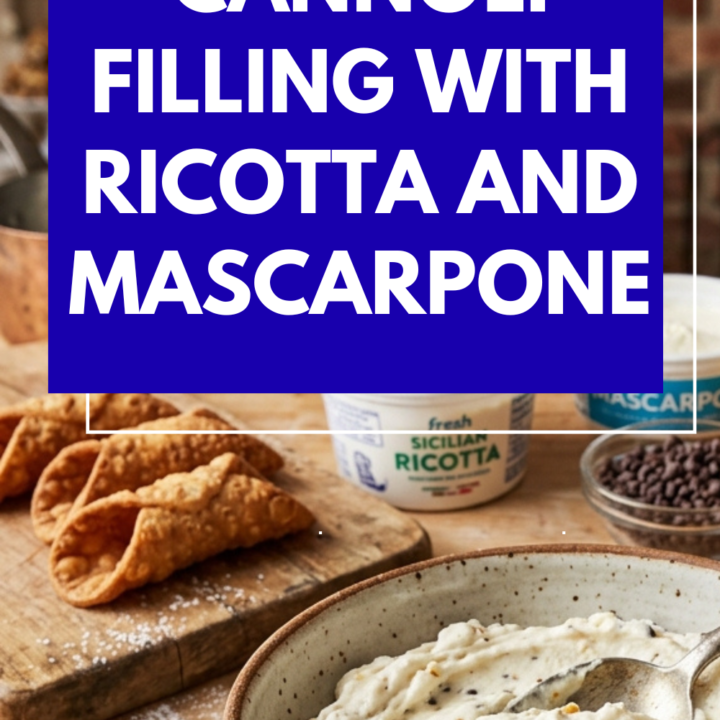
Whenever I want a dessert that feels rich, elegant, and completely irresistible, I make this Cannoli Filling with Ricotta and Mascarpone. It has the perfect balance of creamy ricotta cheese and silky mascarpone, creating a smooth and luxurious filling that tastes just like the classic Italian bakery version. Whether I am preparing homemade cannoli for a special dinner or simply craving a sweet Italian-inspired treat, this recipe never disappoints.
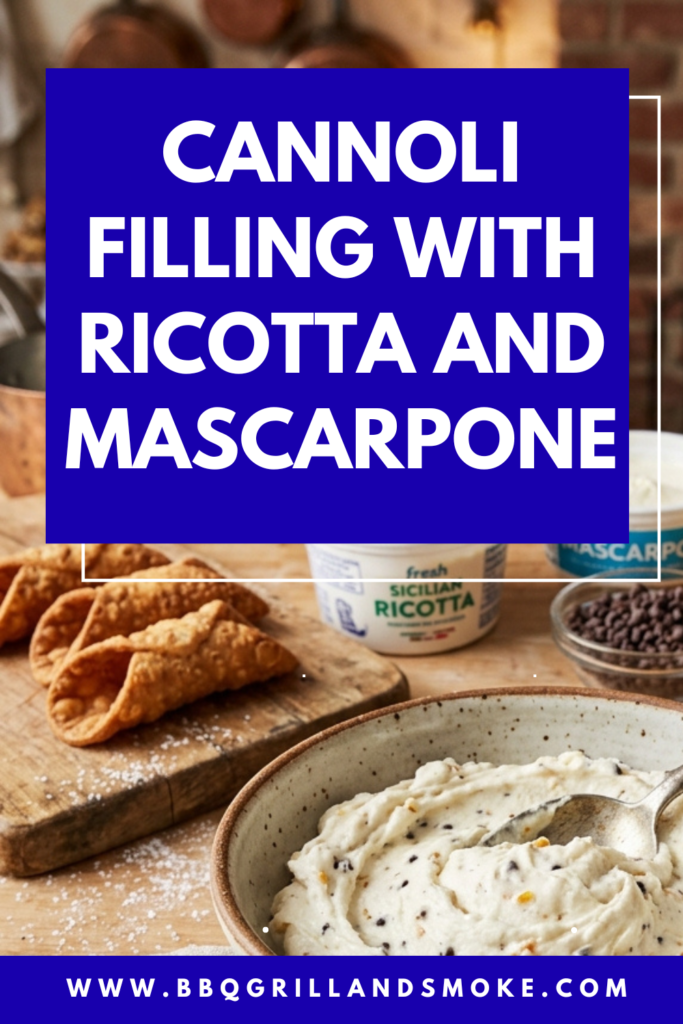
The beauty of this Cannoli Filling with Ricotta and Mascarpone is how incredibly simple it is to make while still tasting gourmet. Traditional cannoli filling relies heavily on ricotta cheese, but adding mascarpone gives the filling an even creamier texture and a slightly richer flavor. The result is light, fluffy, and sweet without being overpowering. I also love how versatile this recipe can be because it pairs perfectly with mini chocolate chips, chopped pistachios, orange zest, or even a sprinkle of cinnamon.
This recipe is ideal for anyone who wants authentic flavor without spending hours in the kitchen. The filling comes together quickly, and once chilled, it becomes perfectly thick and pipeable for cannoli shells. I often prepare it ahead of time so the flavors can develop even more in the refrigerator. Trust me, once you try this Cannoli Filling with Ricotta and Mascarpone, you will never want store-bought filling again.
Yield: 6 servings
Preparation Time: 20 minutes
Cook Time: 0 minutes
Chilling Time: 1 hour
Total Time: 1 hour 20 minutes
Ingredients
- 2 cups whole milk ricotta cheese, drained well
- 1 cup mascarpone cheese
- 1 cup powdered sugar
- 1 teaspoon pure vanilla extract
- 1/2 teaspoon ground cinnamon
- 1/4 teaspoon fine sea salt
- 3/4 cup mini chocolate chips
- 1 tablespoon orange zest (optional)
- 6 cannoli shells
- Chopped pistachios for garnish
- Extra powdered sugar for dusting
Instructions
-
Start by draining the ricotta cheese thoroughly. This is one of the most important steps for creating thick and creamy Cannoli Filling with Ricotta and Mascarpone. Place the ricotta in a fine mesh strainer lined with cheesecloth and let it drain in the refrigerator for at least a few hours or overnight if possible. Removing excess moisture prevents the filling from becoming watery.
-
In a large mixing bowl, combine the drained ricotta cheese and mascarpone cheese. Using a hand mixer or stand mixer, beat the cheeses together until the mixture becomes smooth, fluffy, and creamy. This usually takes about 2 to 3 minutes.
-
Add the powdered sugar gradually while mixing on low speed. Once incorporated, increase the speed slightly and continue beating until the sugar dissolves completely into the filling.
-
Mix in the vanilla extract, ground cinnamon, and salt. If you enjoy a subtle citrus flavor, stir in the orange zest at this stage. The orange zest gives the filling a bright and refreshing taste that pairs beautifully with the rich cheeses.
-
Fold the mini chocolate chips gently into the mixture using a spatula. Avoid overmixing so the filling stays light and airy.
-
Cover the bowl tightly with plastic wrap and refrigerate the filling for at least one hour. Chilling allows the flavors to blend together and helps the filling firm up for piping.
-
Once chilled, transfer the Cannoli Filling with Ricotta and Mascarpone into a piping bag or a zip-top bag with the corner snipped off.
-
Pipe the filling into both ends of each cannoli shell until completely filled. Be generous with the filling because that creamy center is the best part.
-
Dip the ends into chopped pistachios or extra mini chocolate chips for a bakery-style finish.
-
Dust lightly with powdered sugar before serving. Enjoy immediately for the crispiest texture.
Tips or Variations
Drain the Ricotta Well
The secret to perfect Cannoli Filling with Ricotta and Mascarpone is properly drained ricotta. If the ricotta contains too much liquid, the filling will become thin and messy. I always recommend using whole milk ricotta for the richest flavor and best texture.
Make It Ahead
I often prepare the filling a day in advance because the flavor becomes even better after chilling overnight. Just wait to fill the cannoli shells until right before serving so they stay crispy.
Add Different Mix-Ins
You can customize this recipe in many ways. Try adding chopped dark chocolate, candied orange peel, crushed pistachios, or even finely chopped cherries for a unique twist.
Use as a Dessert Filling
This creamy filling is not limited to cannoli shells. I sometimes use it as a filling for cream puffs, sandwich cookies, cupcakes, or layered desserts. It works beautifully in many sweet recipes.
Flavor Variations
For a more indulgent version, add a tablespoon of cocoa powder or a splash of espresso extract. You can also swap the cinnamon for nutmeg for a warmer flavor profile.
Frequently Asked Questions (FAQs)
Can I make Cannoli Filling with Ricotta and Mascarpone ahead of time?
Yes, absolutely. In fact, I recommend making the filling ahead because it tastes even better after chilling. Store it in an airtight container in the refrigerator for up to 3 days.
Why is my cannoli filling runny?
The most common reason is excess moisture in the ricotta cheese. Always drain the ricotta thoroughly before mixing it with the mascarpone and other ingredients.
Can I freeze the filling?
I do not recommend freezing because the texture can change once thawed. Freshly made filling always provides the best creamy consistency.
What is mascarpone cheese?
Mascarpone is a rich Italian cream cheese with a soft, velvety texture. It adds incredible smoothness and richness to this Cannoli Filling with Ricotta and Mascarpone.
Can I use low-fat ricotta?
You can, but I personally prefer whole milk ricotta because it creates a creamier and more authentic flavor. Low-fat versions may produce a thinner filling.
How long do filled cannoli stay crispy?
Filled cannoli are best enjoyed within a few hours. Once filled, the shells slowly absorb moisture from the filling and begin to soften.
Can I make homemade cannoli shells?
Definitely. Homemade shells taste fantastic, but store-bought shells also work very well if you want to save time.
Conclusion
This Cannoli Filling with Ricotta and Mascarpone is one of my favorite Italian dessert recipes because it delivers bakery-quality flavor with minimal effort. The combination of creamy ricotta, luxurious mascarpone, sweet vanilla, and mini chocolate chips creates a filling that is rich, smooth, and unforgettable. Every bite tastes indulgent while still feeling light and delicate.
I love serving these cannoli during holidays, family dinners, birthdays, or even casual weekend gatherings. They always look impressive, yet the recipe itself is surprisingly easy to prepare. Once you master this Cannoli Filling with Ricotta and Mascarpone, you will have a versatile dessert filling that can be used in so many creative ways.
If you try this recipe, feel free to experiment with your favorite toppings and flavors. Whether you keep it traditional or add your own personal twist, this creamy cannoli filling is guaranteed to become a dessert favorite in your kitchen. Enjoy every delicious bite!
Cannoli Filling with Ricotta and Mascarpone
Whenever I want a dessert that feels rich, elegant, and completely irresistible, I make this Cannoli Filling with Ricotta and Mascarpone.
Ingredients
- 2 cups whole milk ricotta cheese, drained well
- 1 cup mascarpone cheese
- 1 cup powdered sugar
- 1 teaspoon pure vanilla extract
- 1/2 teaspoon ground cinnamon
- 1/4 teaspoon fine sea salt
- 3/4 cup mini chocolate chips
- 1 tablespoon orange zest (optional)
- 6 cannoli shells
- Chopped pistachios for garnish
- Extra powdered sugar for dusting
Instructions
- Start by draining the ricotta cheese thoroughly. This is one of the most important steps for creating thick and creamy Cannoli Filling with Ricotta and Mascarpone. Place the ricotta in a fine mesh strainer lined with cheesecloth and let it drain in the refrigerator for at least a few hours or overnight if possible. Removing excess moisture prevents the filling from becoming watery.
- In a large mixing bowl, combine the drained ricotta cheese and mascarpone cheese. Using a hand mixer or stand mixer, beat the cheeses together until the mixture becomes smooth, fluffy, and creamy. This usually takes about 2 to 3 minutes.
- Add the powdered sugar gradually while mixing on low speed. Once incorporated, increase the speed slightly and continue beating until the sugar dissolves completely into the filling.
- Mix in the vanilla extract, ground cinnamon, and salt. If you enjoy a subtle citrus flavor, stir in the orange zest at this stage. The orange zest gives the filling a bright and refreshing taste that pairs beautifully with the rich cheeses.
- Fold the mini chocolate chips gently into the mixture using a spatula. Avoid overmixing so the filling stays light and airy.
- Cover the bowl tightly with plastic wrap and refrigerate the filling for at least one hour. Chilling allows the flavors to blend together and helps the filling firm up for piping.
- Once chilled, transfer the Cannoli Filling with Ricotta and Mascarpone into a piping bag or a zip-top bag with the corner snipped off.
- Pipe the filling into both ends of each cannoli shell until completely filled. Be generous with the filling because that creamy center is the best part.
- Dip the ends into chopped pistachios or extra mini chocolate chips for a bakery-style finish.
- Dust lightly with powdered sugar before serving. Enjoy immediately for the crispiest texture.
Nutrition Information:
Yield: 6 Serving Size: 1Amount Per Serving: Calories: 515Total Fat: 29gSaturated Fat: 13gUnsaturated Fat: 16gCholesterol: 58mgSodium: 118mgCarbohydrates: 53gFiber: 2gSugar: 38gProtein: 12g